六六的集邮站
2014年3月2日星期日
2014年2月28日星期五
宝特瓶再利用,制作可爱的彩虹鱼
宝特瓶再利用,制作可爱的彩虹鱼
转载
Cola Bottle FISH


See how to make these beautiful fish at home. You will need a large plastic bottle, massking tape, two bottle caps (for the eyes), PVA glue and temperapaints.


Secure the two bottle caps with masking tape to make the eyes. After you have attached all the parts, cover the whole fish with sticky tape.

If you’re working with younger kids, it’s better to prepare the fish beforehand, because the drying process takes a very long time. I made ours alone the day before; when they were dry, me and my daughter colored them with tempera paints.
ads not by this site
2014年2月27日星期四
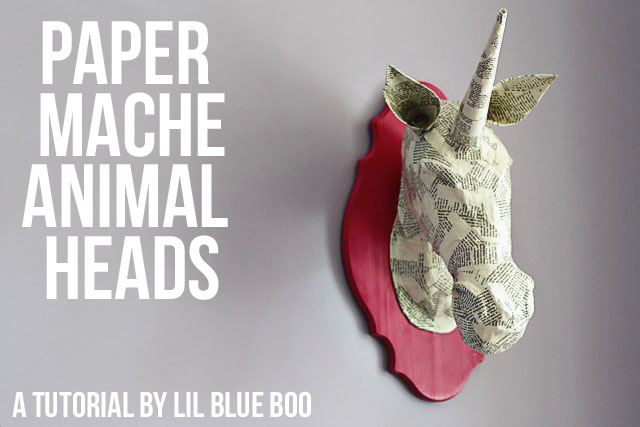
利用纸浆制作独角兽壁饰
利用纸浆制作独角兽壁饰
转载
Paper Mache Animal Heads (A Tutorial)
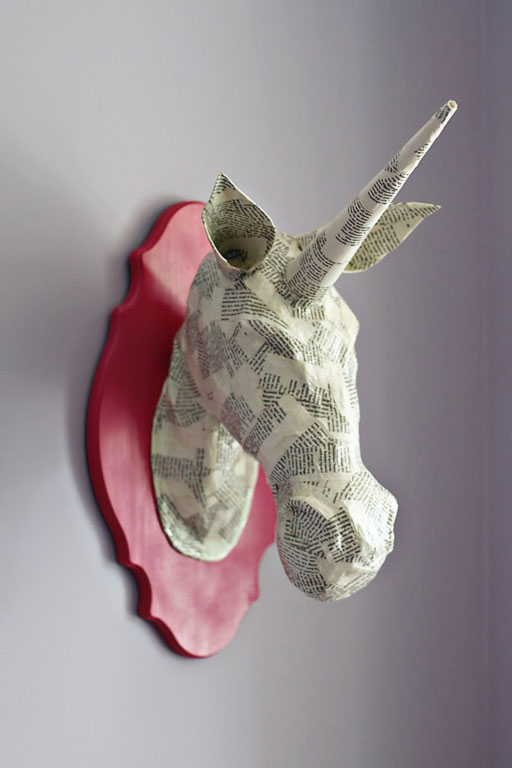
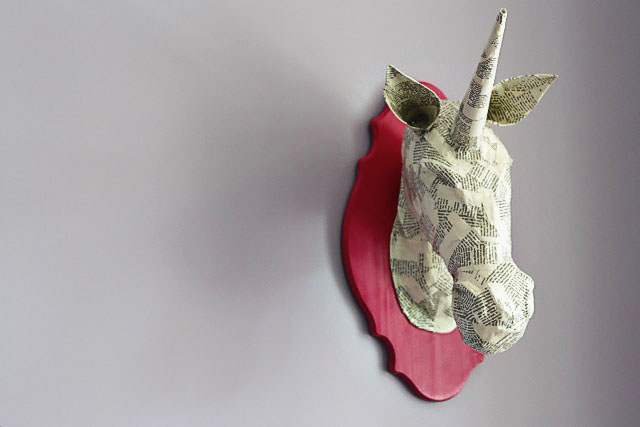
Another addition to Boo’s playroom….a paper mache unicorn head! It
took about 4 hours total to make….over 3 days. I love that it’s
whimsical 3-dimensional artwork appropriate for a child’s room.
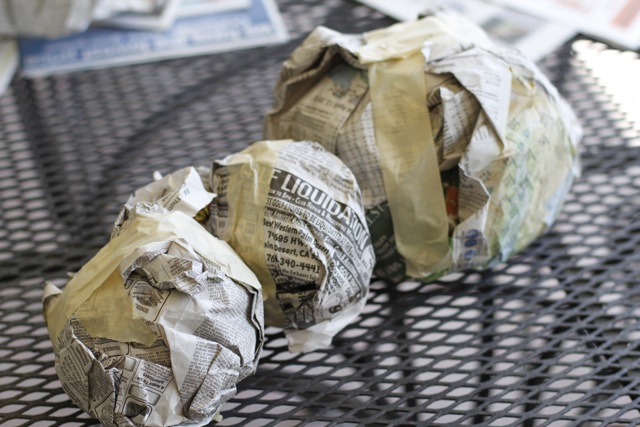
I made three different sized newspaper balls to make up the entire head…..
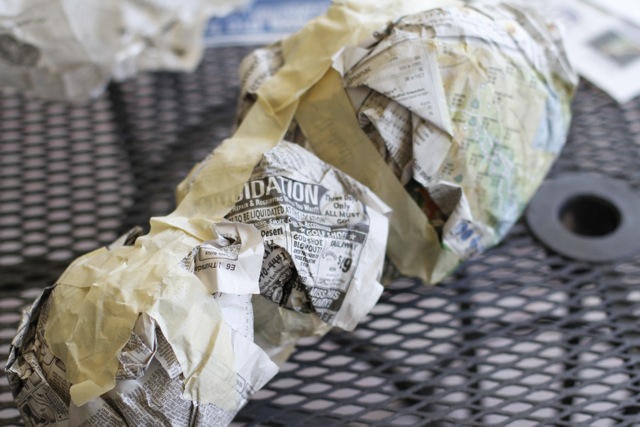
….and secured them together with tape.
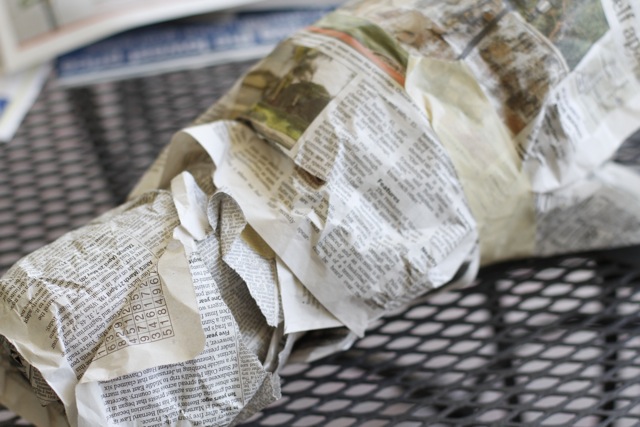
I wrapped the pieces in newspaper to help secure them and used tape to contour different sections:
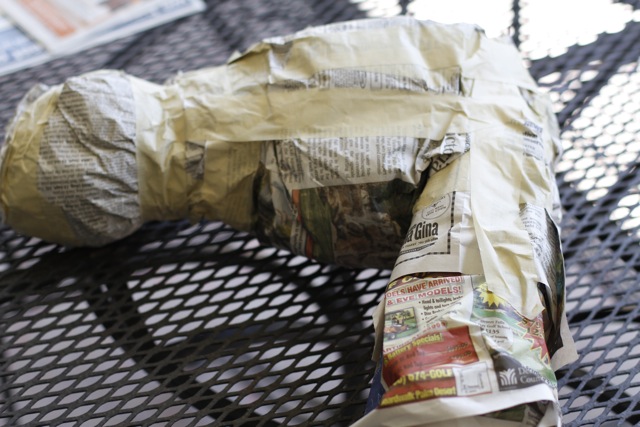
I formed a neck out of newspaper and attached it:
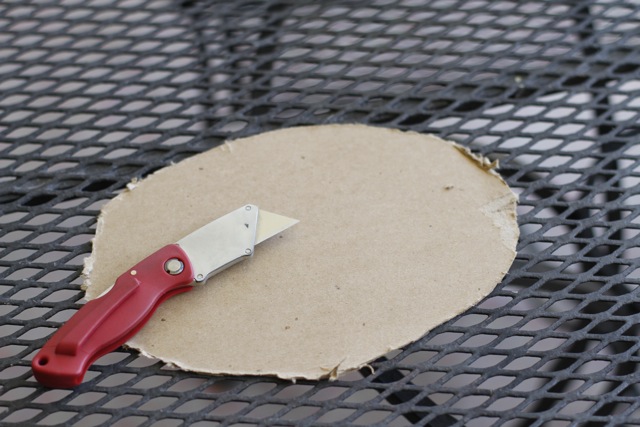
I cut a heavy piece of cardboard to be the backing for the neck (the flat piece that will lie against the wall when mounted):
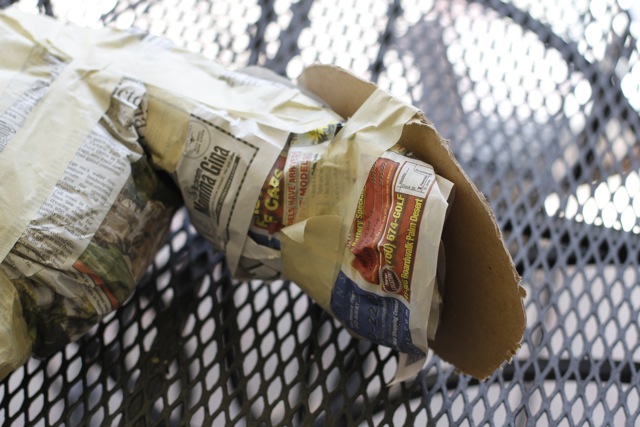
The cardboard was secured with masking tape:
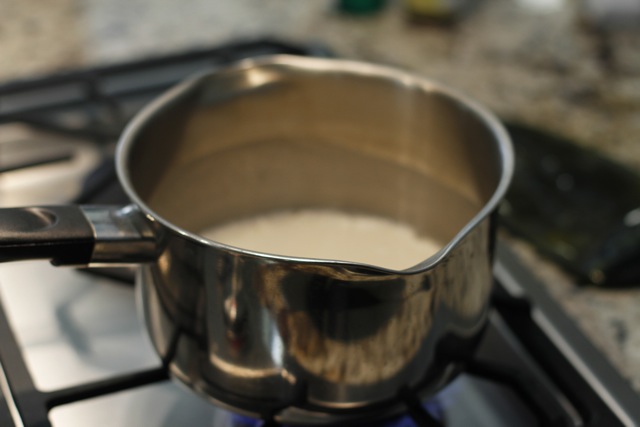
I use a boiled paste for my paper mache mixture. 1 part flour to 4 parts water works for best for me but you can experiment with your own mixture to see what you prefer to work with. I bring it to a boil stirring constantly until it’s a soupy mixture.
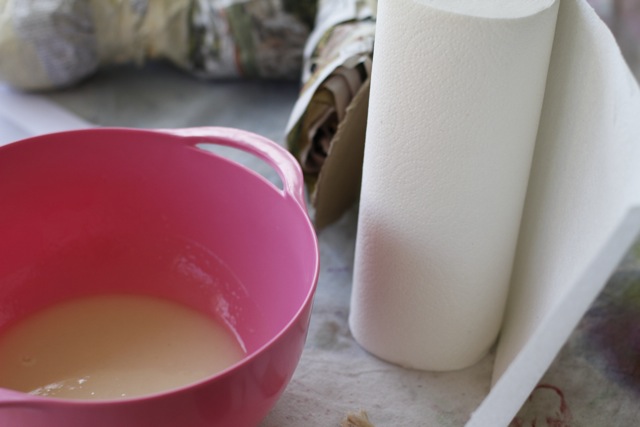
Pouring the soupy paper mache into a bowl I let it cool for about a minute and then start tearing paper towels into small pieces. I use paper towels because they are easier to sculpt.
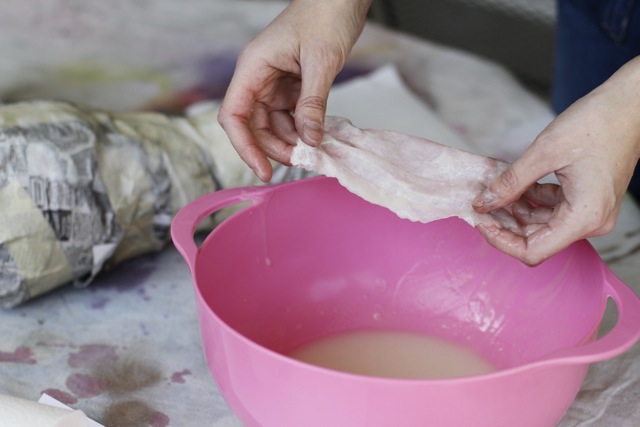
I dipped pieces of paper towel into the mixture…..
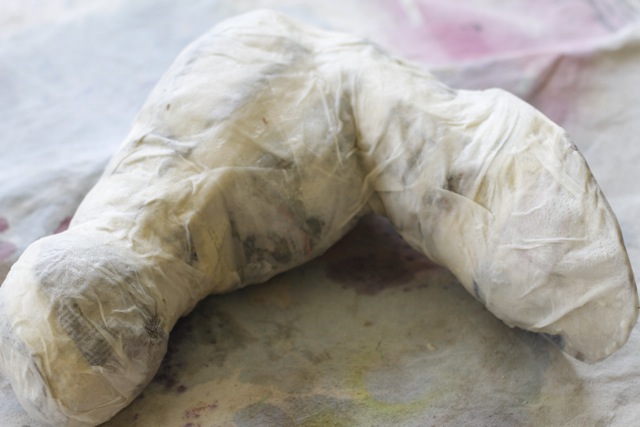
Once the head has been coated completely I let it completely dry overnight:
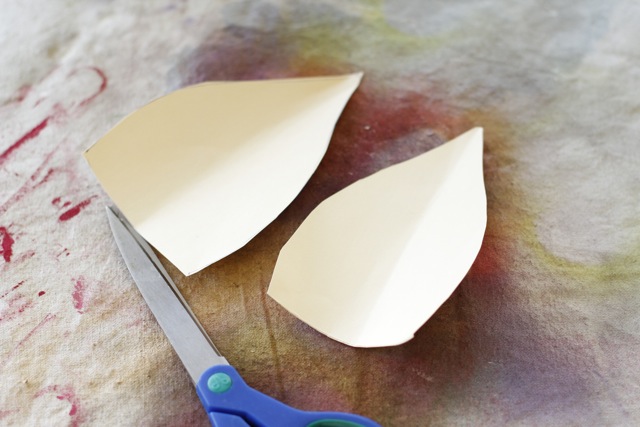
The next day, I cut out some ears…..
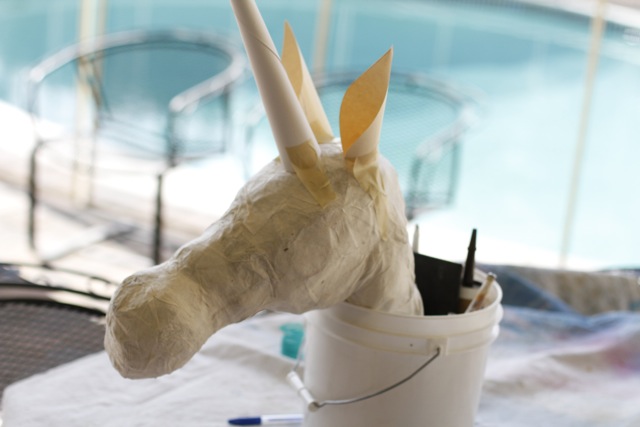
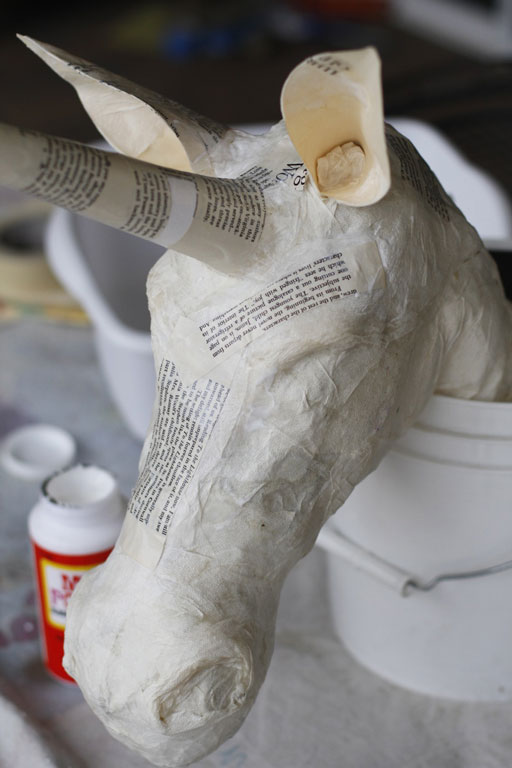
…..and made a horn by wrapping a sturdy piece of paper into a cone. I used masking tape to secure them into place.
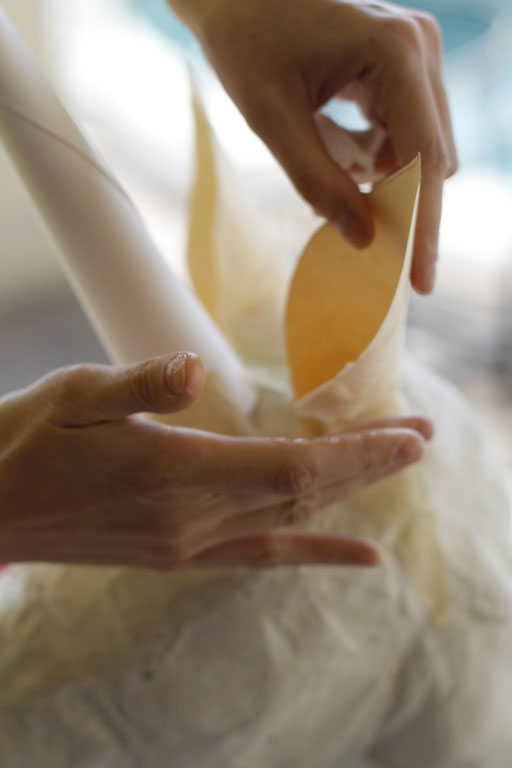
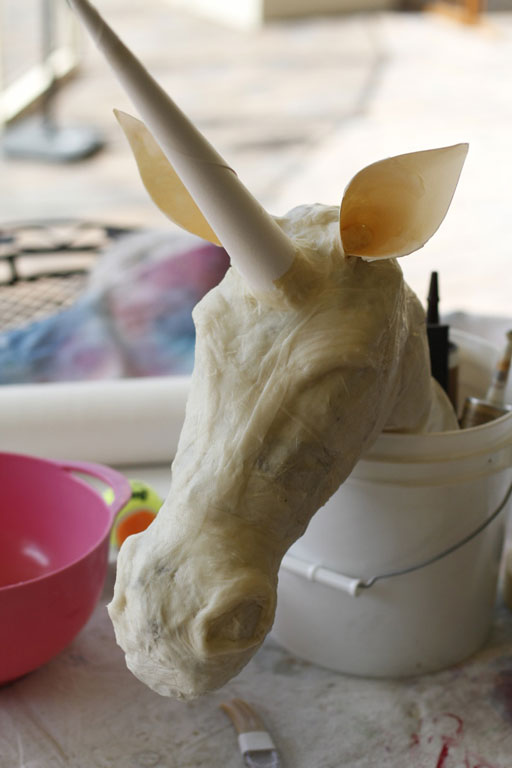
I made another mixture of paper mache and used paper towel pieces to secure the horn and ears securely to the head:
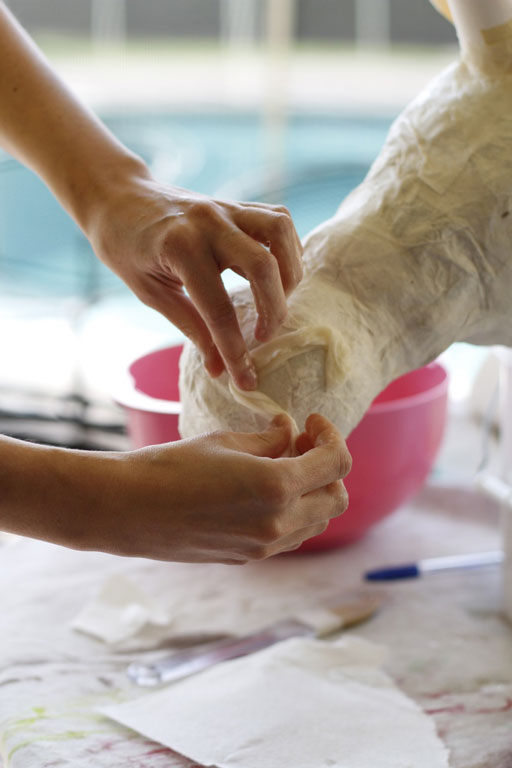
Paper towels are great for sculpting….so I used pieces to create nostrils and more bone structure. It doesn’t matter what it looks like except for the basic structure because I’m adding another layer of nicer paper on top for the finish coat.
I built up layers and layers until the head looked like I wanted it to.
Then I let it dry overnight again!
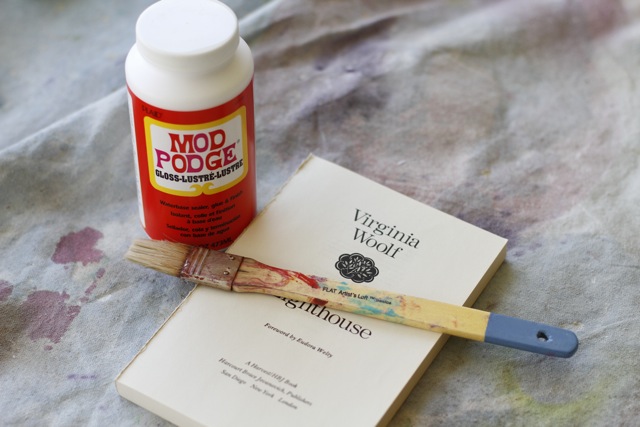
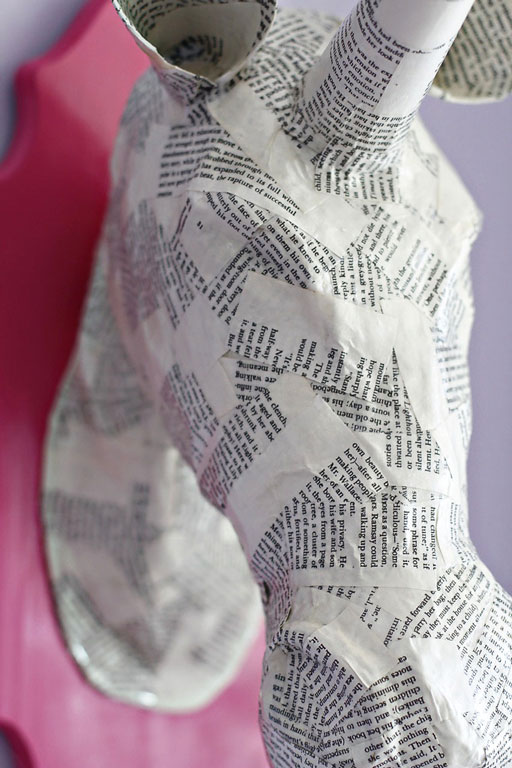
After the paper mache form had ample time to dry….I took an old book and some Mod Podge and used it to cover the entire form.
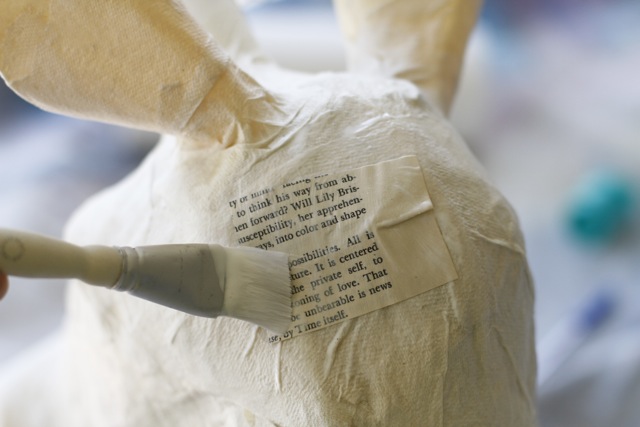
I cut up the pages into small piece and just started layering them over…….
….and over…..until the form was covered entirely.
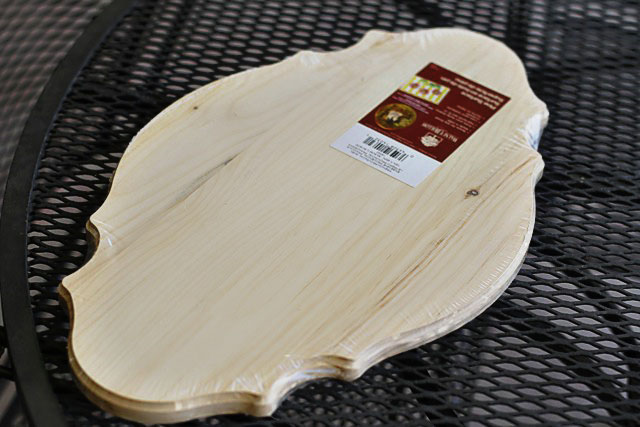
I bought a pre-cut wood plaque from Michael’s for $5.00 using my 50% off coupon and spray painted it hot pink.
The final step was to attach the unicorn head to the plaque! I used industrial glue and a staple gun to secure it. The staples are easily covered with some more paper and Mod Podge.
I can’t decide what animal to make next!
Check out the entire Project Playroom series by clicking the image below!
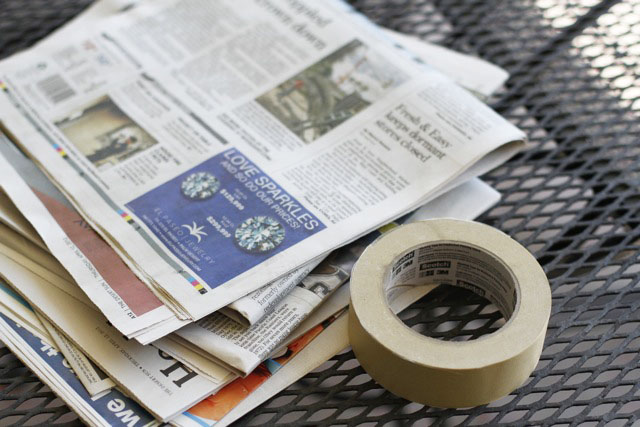
To make the animal head I started with newspaper and masking tape:
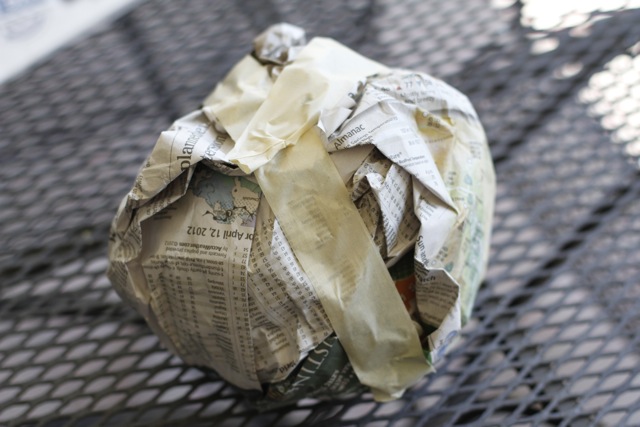
I crumpled up newspaper and kept wrapping it into a ball until it was the size needed and secured it with masking tape:I made three different sized newspaper balls to make up the entire head…..
….and secured them together with tape.
I wrapped the pieces in newspaper to help secure them and used tape to contour different sections:
I formed a neck out of newspaper and attached it:
I cut a heavy piece of cardboard to be the backing for the neck (the flat piece that will lie against the wall when mounted):
The cardboard was secured with masking tape:
I use a boiled paste for my paper mache mixture. 1 part flour to 4 parts water works for best for me but you can experiment with your own mixture to see what you prefer to work with. I bring it to a boil stirring constantly until it’s a soupy mixture.
Pouring the soupy paper mache into a bowl I let it cool for about a minute and then start tearing paper towels into small pieces. I use paper towels because they are easier to sculpt.
I dipped pieces of paper towel into the mixture…..
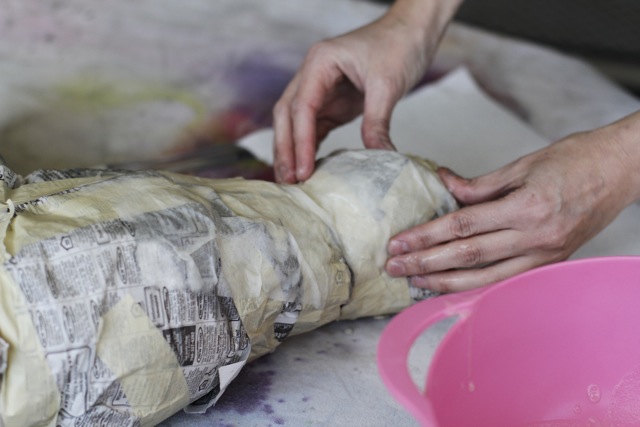
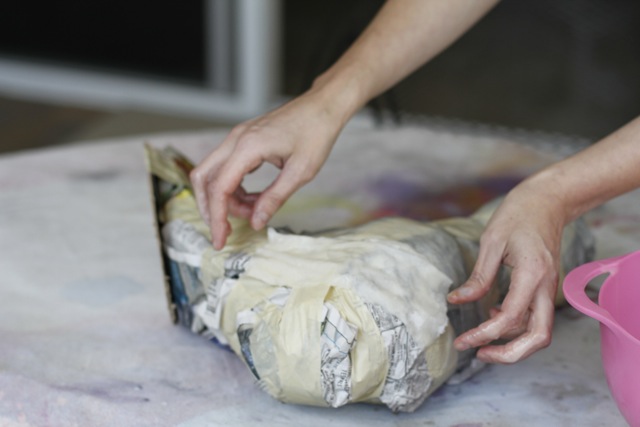
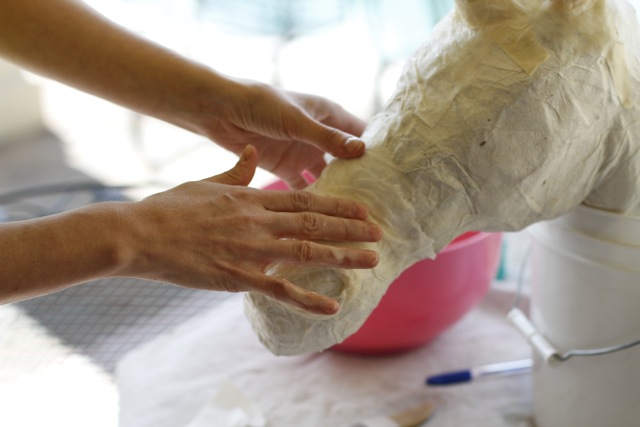
…..and then slowly covered the entire head.
I press and sculpt the head as I go to give it the shape I want:Once the head has been coated completely I let it completely dry overnight:
The next day, I cut out some ears…..
…..and made a horn by wrapping a sturdy piece of paper into a cone. I used masking tape to secure them into place.
I made another mixture of paper mache and used paper towel pieces to secure the horn and ears securely to the head:
Paper towels are great for sculpting….so I used pieces to create nostrils and more bone structure. It doesn’t matter what it looks like except for the basic structure because I’m adding another layer of nicer paper on top for the finish coat.
I built up layers and layers until the head looked like I wanted it to.
Then I let it dry overnight again!
After the paper mache form had ample time to dry….I took an old book and some Mod Podge and used it to cover the entire form.
I cut up the pages into small piece and just started layering them over…….
….and over…..until the form was covered entirely.
I bought a pre-cut wood plaque from Michael’s for $5.00 using my 50% off coupon and spray painted it hot pink.
The final step was to attach the unicorn head to the plaque! I used industrial glue and a staple gun to secure it. The staples are easily covered with some more paper and Mod Podge.
I can’t decide what animal to make next!
Check out the entire Project Playroom series by clicking the image below!
订阅:
博文 (Atom)


